I’ve mostly automated the setup of the software for the Life display frame software. You can find the scripts here on GitHub . Running this requires a Linux system with ansible and git installed.
I am running this on a Raspberry Pi ZeroW , but it should work on just about anything running Debian Linux .
This uses the lite version of Raspberry Pi OS without a GUI. You should download the correct one for your hardware, expand the image, and write it to an SD Card:
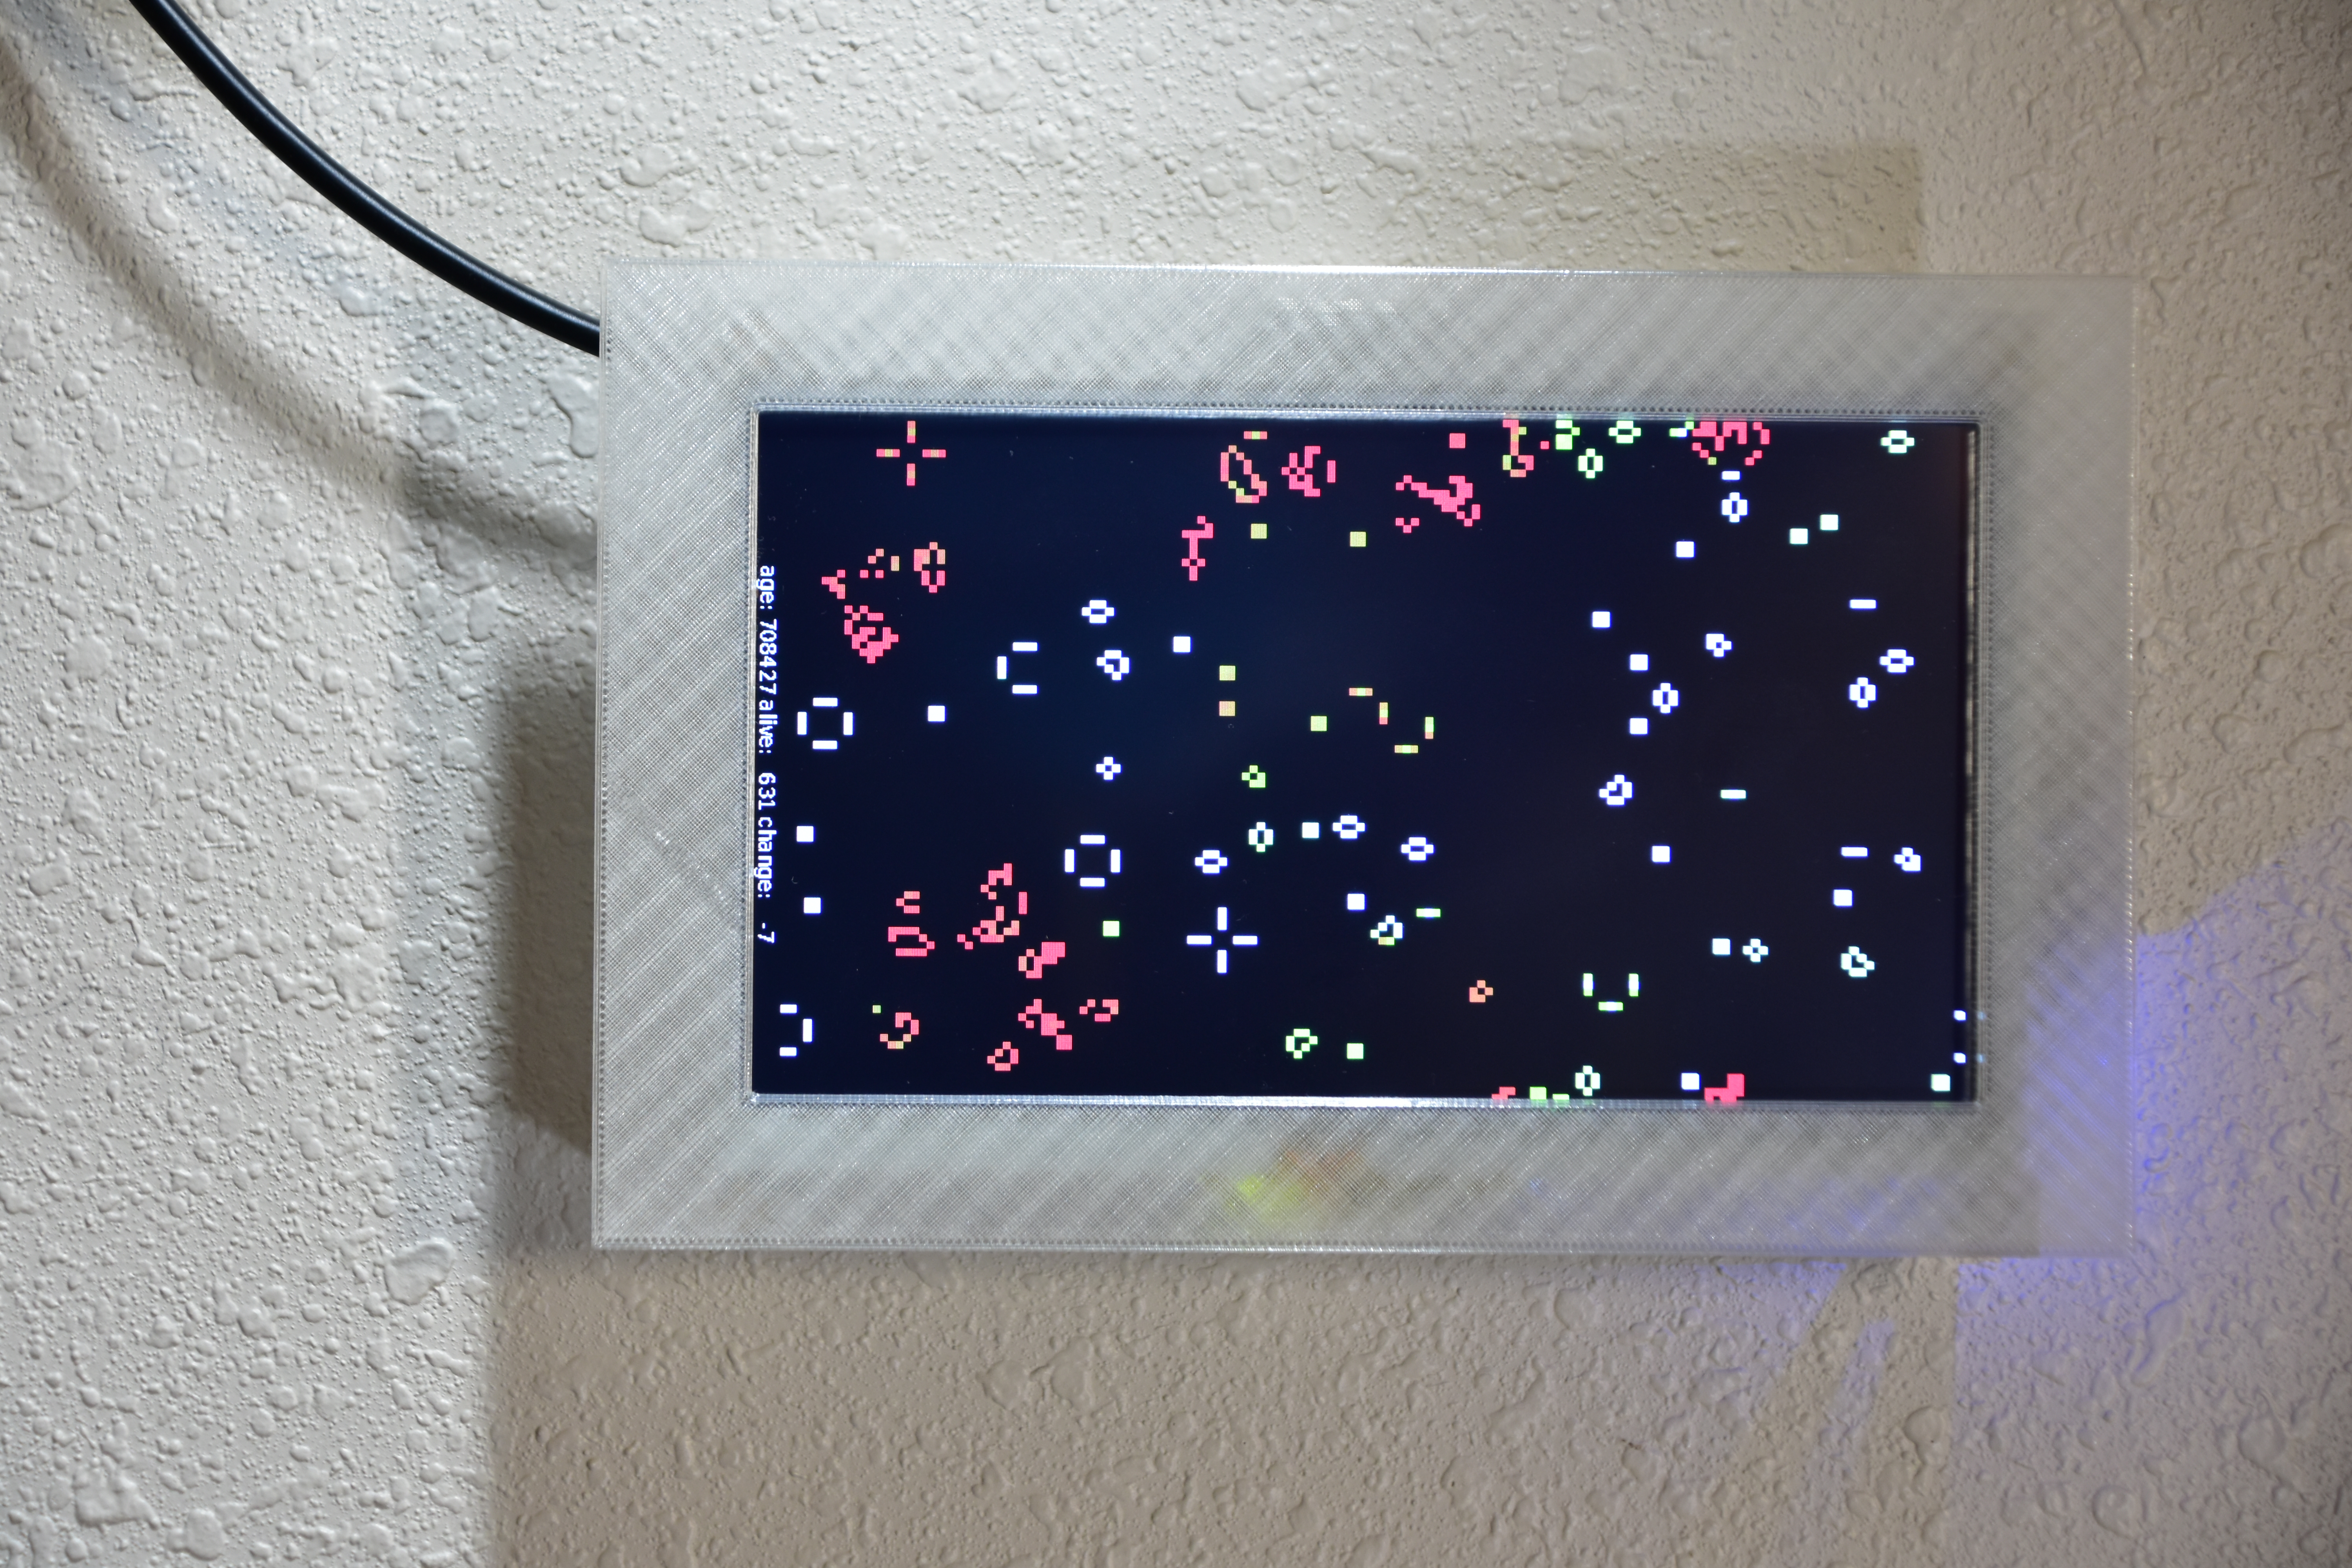
Last year I wrote about my sdl2-life program, adding color to it, and seeding it with data from my website logs. This time I’ve decided to make a dedicated wall display for it using an Adafruit touchscreen display and a Raspberry Pi Zero that I bought back before they became unobtainable.
After a bunch of experiments with the design I managed to make a display that won’t fall off the wall and it looks reasonably nice.
This is a followup to the qemu with PXE boot post I wrote a few years back. In this post I will cover the creation of a live filesystem using livemedia-creator, and PXE booting it with qemu and UEFI. I am assuming that you have some familiarity with using Anaconda to install Fedora, CentOS, and Red Hat Enterprise Linux. As well as with my previous posts about livemedia-creator .
Building the image with livemedia-creator The creation process is similar to creating live isos but instead of an iso we will create the live root filesystem.
The day started with a plan. I would upgrade to the latest OpenWRT release with minimal disruption to the home internet, planning out the steps beforehand, and being careful not to totally mess things up. And as always reality had other ideas about how the day would go.
The Original Plan I’m running OpenWRT on a PC Engines APU4 with way more disk space than it needs. The APU4 boots from the SSD like a traditional PC, not like a router booting from dedicated Flash storage, so I wasn’t sure exactly how the OpenWRT upgrade procedure would work and I wanted to make sure I had a working install to fall back on.
A while back Jessie Frazelle wrote a neat blog post on running desktop applications using Docker containers. It ends up that it isn’t too hard to run X clients in containers using podman or Docker .
Now that I have Alpine Linux running on my laptop I need to get rootless podman setup so I can run applications that aren’t included in the Alpine distribution. Podman is a Docker compatible container engine that doesn’t require a daemon, and can run as a user without any need for root access.
The Ansible playbooks for this article can be found here I have a laptop that I use for experimenting with different operating systems. I’ve used it to run various Linux distributions, as well as FreeBSD and OpenBSD. I tend to set it up by hand, use it for a while, then reinstall with something new. In the most recent iteration of this I’ve used Alpine Linux to see if it would be suitable distribution for more than a container runtime.
I wanted to add some kind of doorbell indication to my office, and was almost ready to start buying parts for wired doorbell sensor like this one on hackaday.com , but I wasn’t sure how well it would work with the Beagle Bone Black that’s running my digitemp sensor network in the garage. I’d have to run about 20’ of wire over to the sensor from the Beagle and that was bound to effect the reliability.
I was expecting to spend the whole afternoon getting a tftp server setup so I could PXE boot some qemu virtual machines for testing. I wanted to make sure it didn’t interfere with anything else on the LAN so it would have to be limited to the user mode network I use with my vms. Typically when I try to do something like this I end up trying a bunch of different things that don’t quite work right.
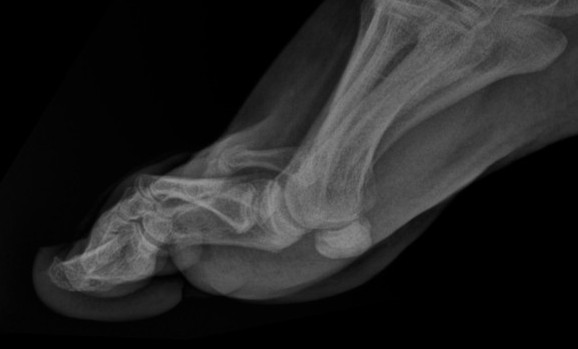
I recently needed to convert a CD of xrays into jpeg images, and it wasn’t immediately obvious how to do this. The files on the CD were in DICOM format , which appears to be a commonly used format in the medical community that includes the image and extra metadata about the patient. I first used the aeskulap viewer which worked fine for viewing, but has no options (that I could find) for exporting them to regular jpeg images.